Running BlueOnyx with suPHP and WordPress
suPHP allows the execution of PHP scripts with the privileges of their owner. PHP scripts are no longer executed by the Apache user. This will be safer, but also more resource intensive. From a users point of view, the biggest advantage in terms of user friendliness is the fluent installation of plugins, updates and file uploads.
As the sysadmin, you’ll no longer have to chown folders or watch users implement the dreaded chmod 777 fix.
Site configuration
Create a new “Virtual Site”.
Select the following options from the PHP scripting menu:
- Enable PHP Scripting
- Enable suPHP
If suphp is to be activated for an existing virtual site, you have the option to do so from: Services > Web
Do not change any other PHP directives as these will be ignored.
Create a siteAdmin for your virtual site and assign this user the ownership for the web directory (Services> Web Ownership)
A siteAdmin user is required for suPHP to work properly.
Create a custom php.ini file for your virtual site by copying your global php configuration file located at /etc/php.ini
Make the following changes for your custom php.ini file:
Find the directive: memory_limit = xM
The memory limit needs to be increased to at least 30M (memory_limit = 30M)
Open_basedir configuration
Find the directive: open_basedir = /tmp/:/var/lib/php/session/
To make this work you’ll have to append your virtual site’s root directory to allow file operations. It should look similiar to this:/tmp/:/var/lib/php/session/:/home/.sites/xx/siteXXX/
(/home/.sites/xx/siteXXX/ is the path to your virtual site)
If you need PEAR you may append :/usr/share/pear/
Upload your custom php.ini to your virtual site’s root directory /home/.sites/xx/siteXXX. I would recommend that the php.ini file is owned by the root user to avoid having the siteAdmin reconfiguring the PHP runtime directives, as this could potentially be troublesome.
Permalink support
In order to use the WordPress permalink option, mod_rewrite calls must be allowed for your virtual site.
As the root user navigate to the /etc/httpd/conf/vhosts directory.
Edit siteXXX.include and add the following set of rules:
<Directory "/home/.sites/xx/siteXXX/web">
AllowOverride All
Options -FollowSymLinks -Indexes
RewriteEngine On
</Directory>
Make sure the directory actually points to your virtual site.
- Save the file and restart apache to load the new virtual site configuration.
- Upload and install WordPress (as the siteAdmin).
- Activate permalinks from the WordPress administrative settings.
Upon saving the rewrite rules, your WordPress site will malfunction.
This is easy to fix, navigate to your virtual site’s web folder and chmod your new .htaccess file to 644. You wont have to redo this step if you are to change the rewrite rules at a later time.
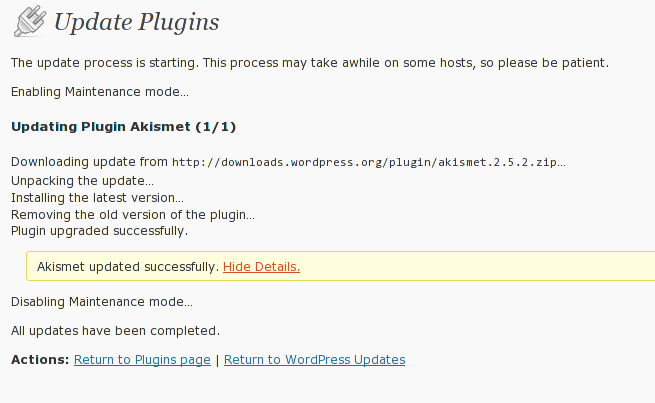
Upgrading, installing themes and plugins should now work like a breeze.
Some plugins require obscene amounts of memory and even the disabling of the Safe Mode directive.
Error Checking
Make a php file with the following code: <?php phpinfo(); ?> and upload it to your virtual site.
Make sure the following directives have changed from their default configuration:
Server API = CGI/FastCGI
open_basedir = ...:/home/.sites/xx/siteXXX/
Investigate your apache log if all else fails.